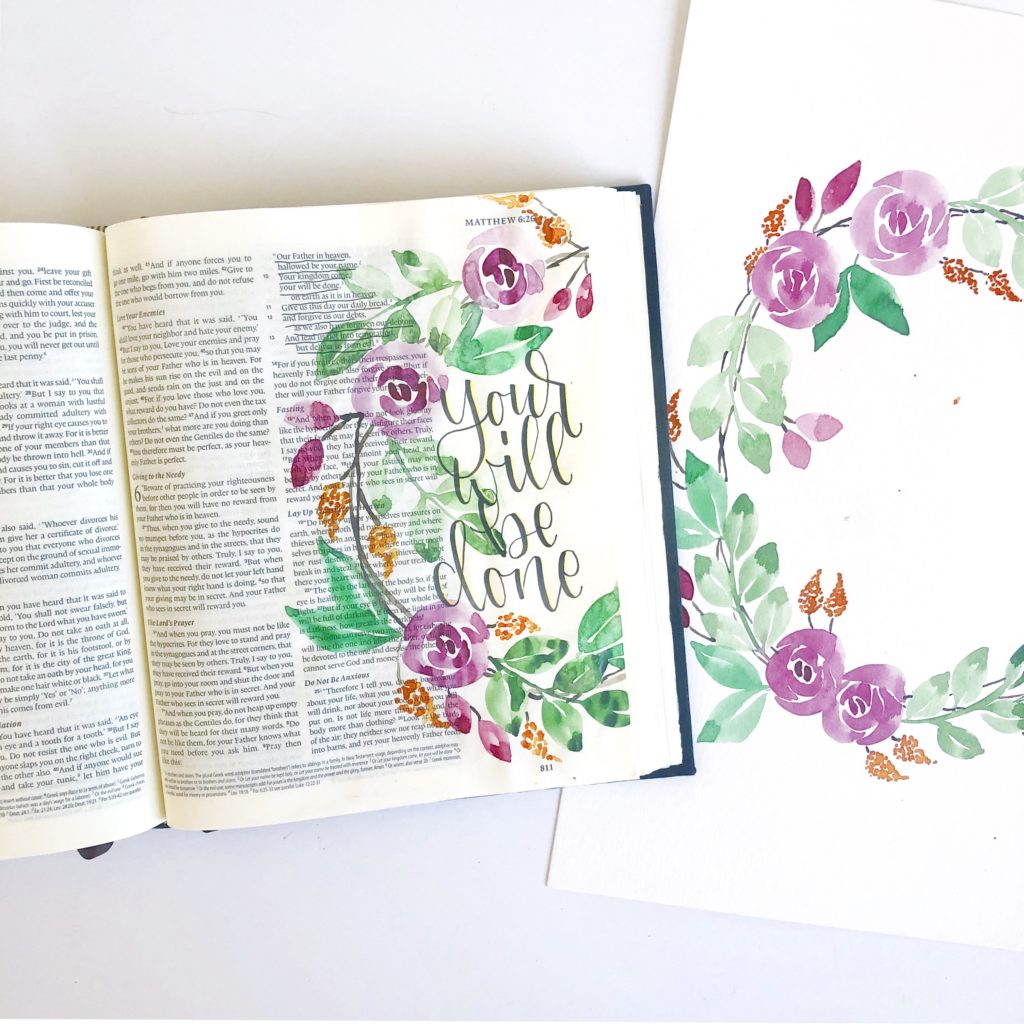
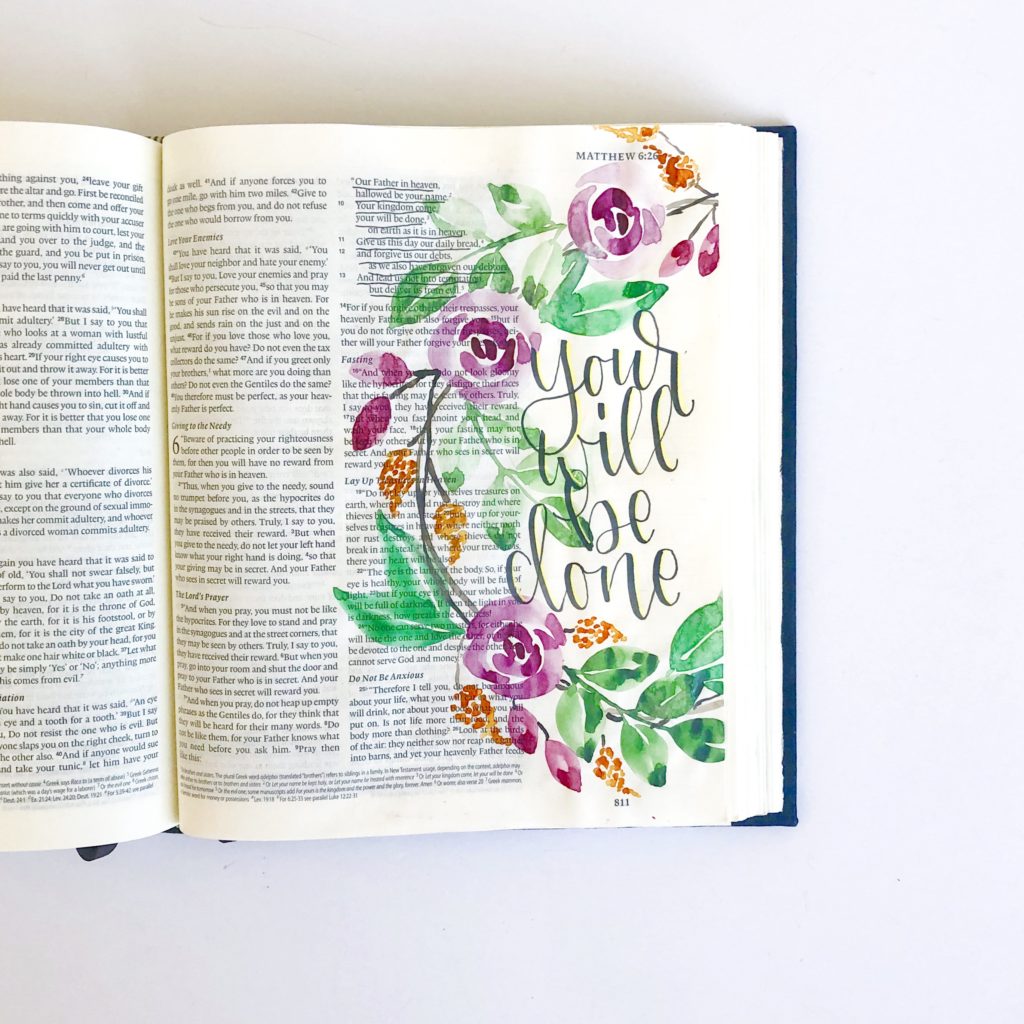
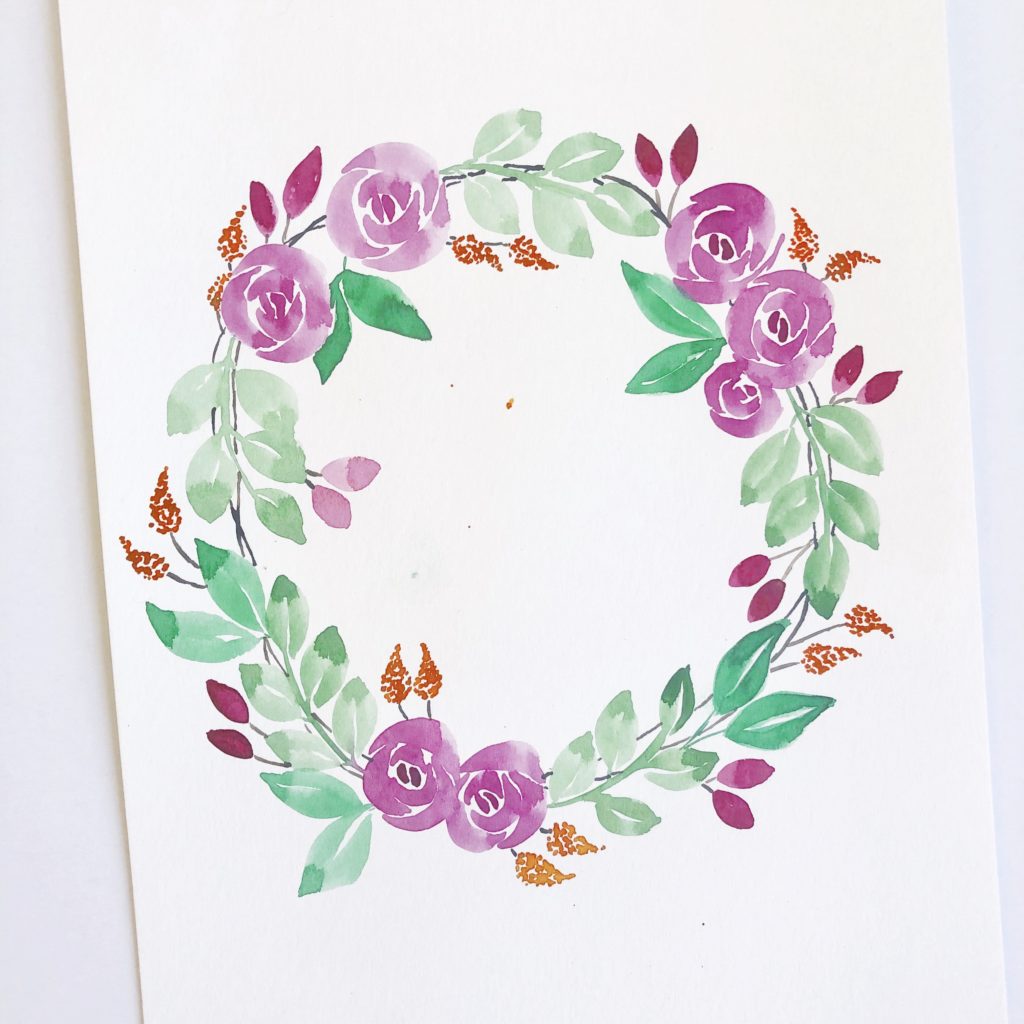
I have done a watercolor wreath tutorial before on YouTube last Christmas, but I felt that it was time to do another! In this tutorial, I really wanted to break down how to paint wreath elements, and most importantly, how to arrange them so that it looks good!
I used only five EASY TO PAINT elements to create my summery wreath! By repeating them in a circle in odd numbers, I was able to create a beautiful, quick, balanced and full wreath!

*Quick tip- you can use the same elements I show in the video to create spring, fall, or winter wreaths as well! Just change up the colors! I.e. light pinks and vibrant greens for spring. Or reds, oranges, and earthy greens for fall! I live in Southern California where it is summer year round, so I’m not ready to break out the fall colors quite yet ;).*
*Another quick tip- though I use watercolors to create the wreath in this video, you can use the same design elements and composition techniques to create a similar wreath using acrylics, markers, colored pencils, or your medium of choice!*

Now, the tutorial video below is a bit longer than most of my videos. I thought about cutting parts out to shorten it and make it less daunting, but I felt like each part was so necessary to help you learn! I promise that though it may seem hard, you really can do it!
The hardest part of painting (or drawing) a wreath is figuring out the composition. I tried my best to explain how I composed mine, but this is something that may take a little practice. Just try your best to fill in the empty areas.- This is why having elements of varying sizes are super helpful.- Place the largest elements first, and then use the smaller elements to fill the empty spaces.
I want to encourage you to not be afraid to try this tutorial and change it up! Have fun with it! Don’t be afraid to make mistakes. And if you are Bible journaling, always remember that it’s not about the art you create, it’s about the time spent with our God praising him.
Okay, without further ado, check out the tutorial below.
Materials Used
*This article contains affiliate links. CLICK HERE for my full disclosure*
ESV Double Column Journaling Bible (I sell these with hand-painted covers in my ETSY SHOP!)
Kuretake Gansai Tambi Watercolors
Unibal Signo Gel Pen In Yellow (Link for a set with the yellow and a few more gorgeous colors)
Tombow Fudenosuke Brush Pen (Link for the set of three types of Fudenosuke brush pens. I highly recommend all of them for beginner or advanced lettering!)
Size 10 Round Brush Brush (Link for a cheap pack of brushes I use)
Other Helpful Tutorials
Brush Pen Calligraphy Basics– With Free Printable
Brush Calligraphy Bounce Letters-Free Printable with Email Sign-up
Easy Watercolor Roses Tutorial
Watercolor Leaves Tutorial– With Free Printable

Let me know what you think of this tutorial in the comments below. I’d also love to hear from you on Instagram or Facebook!
